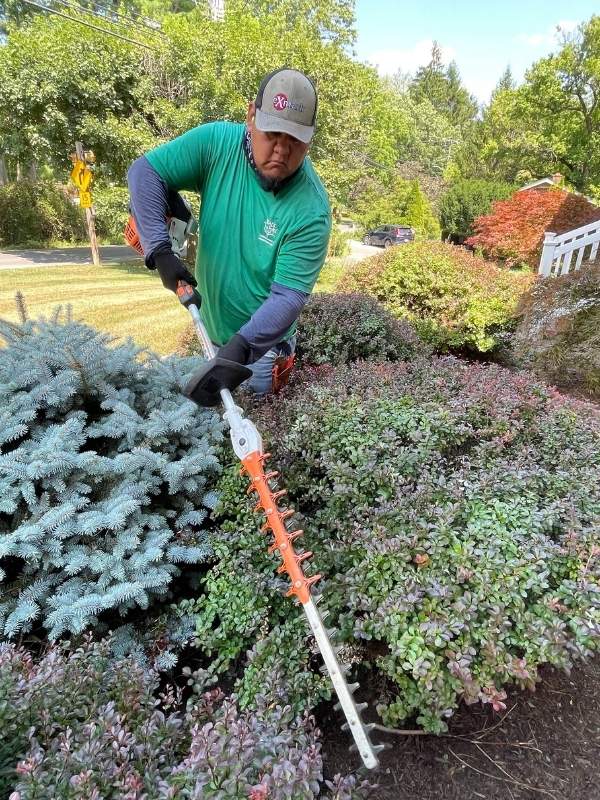
Long winter nights are a perfect time to dream about how you could better use your yard. Spending time now considering how best to use your yard, then talking to a designer can prepare you to be on our schedule early enough to enjoy your newly designed space this summer.
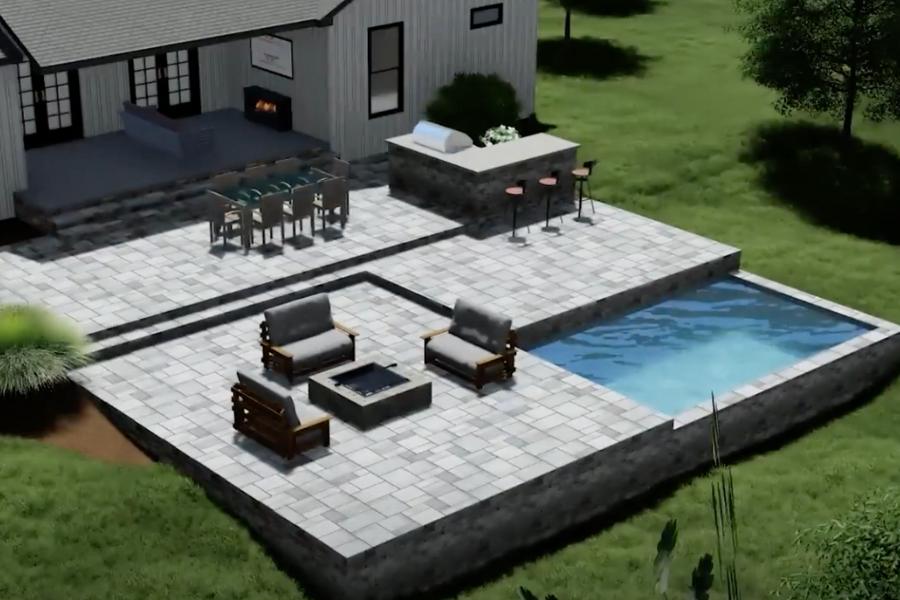
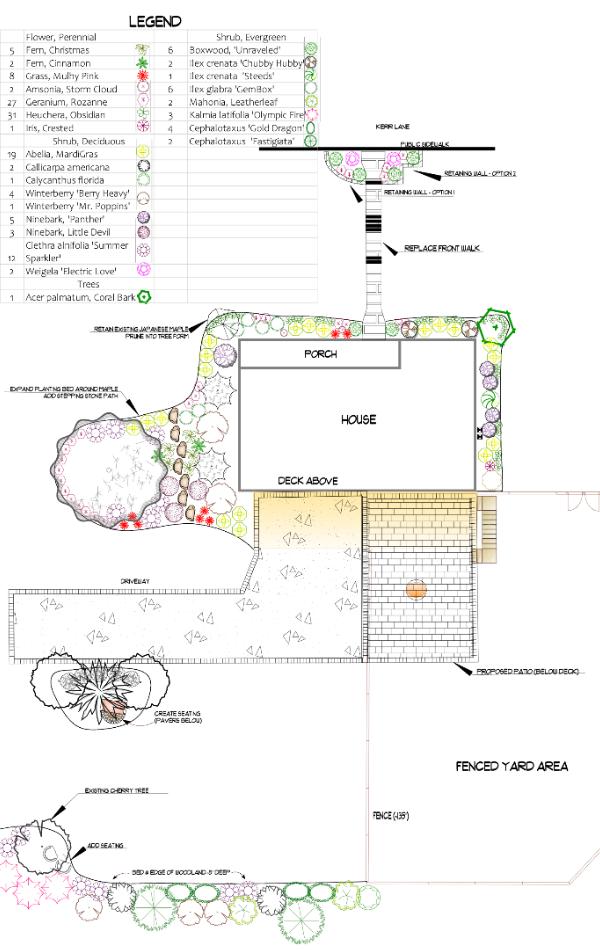
Not only does starting to plan now help you get on the schedule earlier, but it gives you time to consider how you use your whole yard. A plan for your entire property can yield an end product that fits your desired activities into the best locations for each while connecting them into a cohesive plan. You can then implement the whole plan at once, or in phases that suit your budget. Plantings, in particular, can be helpful to install in stages, as it reduces the time and water required for you to care for your new plantings as they get established.
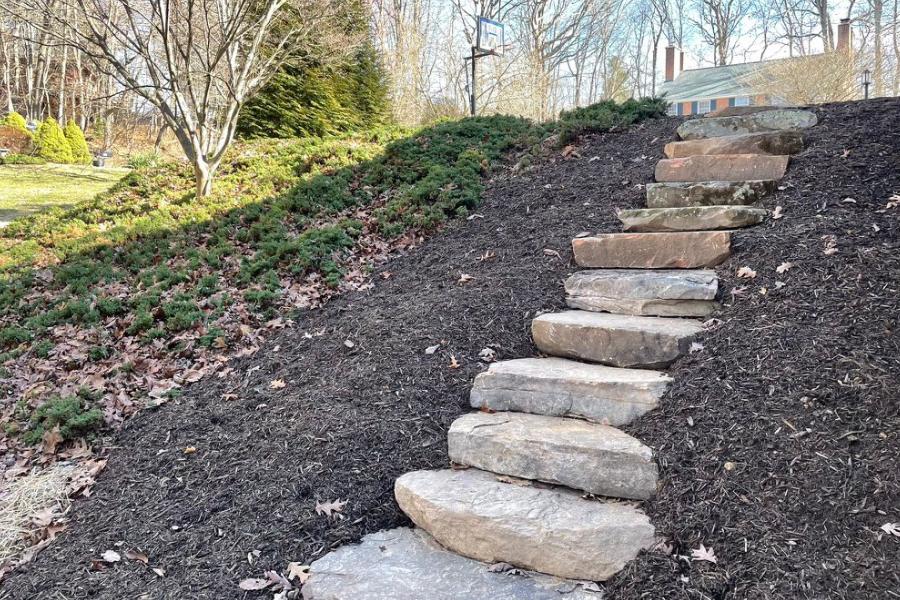
You don’t need to have a big project in mind to benefit from starting the planning process early. Having a designer help you consider different options for a walkway, a set of steps, or a simple planting can ensure you are happy with the final result and less likely to have those “if only I had thought of that …” moments. For planting projects, planning ahead may enable you to schedule your project when the widest selection of plants are available.
Start your planning process by spending time thinking about all the things you and your family enjoyed doing outside last year, as well as the things you would like to be able to do. Add to that list inspirational pictures and ideas, then contact one of our designers to help organize your ideas into a plan that will suit your home and landscape. In addition to your ideas, the designer will have fresh eyes to see your site and suggest new ideas or unique features, like integrated heating for a covered patio, that will improve the ideas you’ve collected.
One of the big questions people tend to have is how much their dream backyard will cost. Our designers can help you understand the costs and come up with strategies to maximize your budget, or plan to implement your design in phases so it is more affordable.
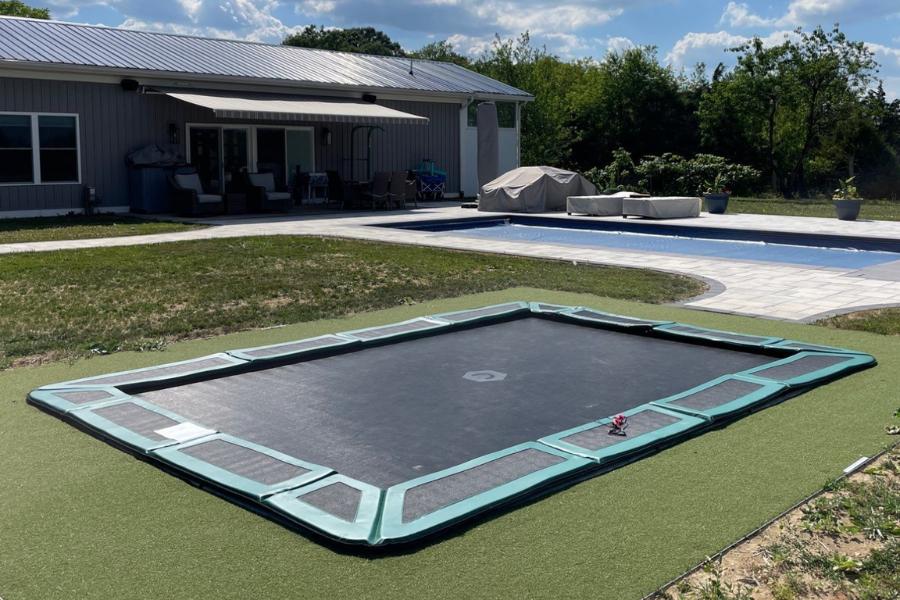
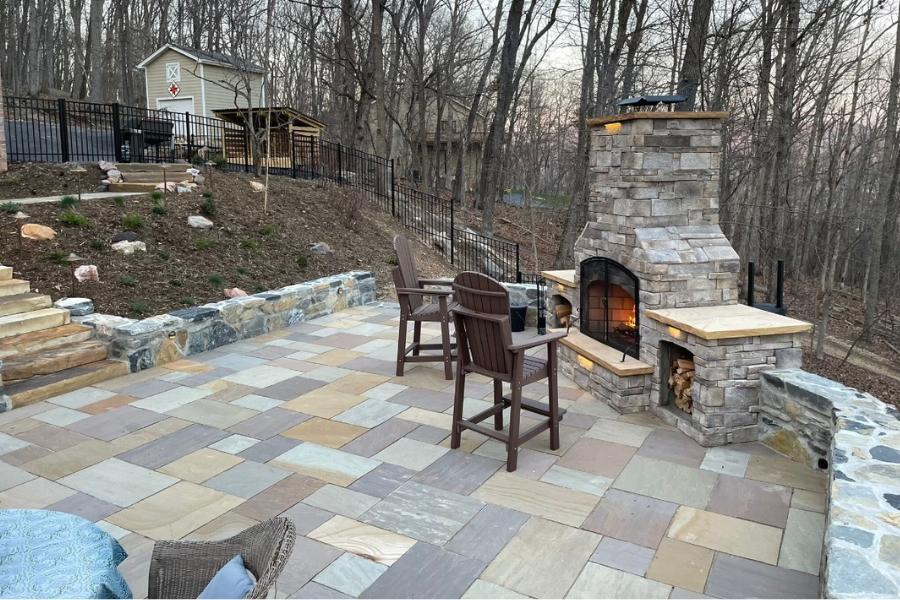
Finally, you have your plan and are ready to implement it. Our designers can help you consider when it’s best to schedule your project, walk you through material selection, and be with you throughout the installation to answer questions and make any adjustments that may be necessary during construction. You may have heard contractors point out that you never know what you’re going to find when you take apart a wall, and the same is true when you dig into the ground. Having an experienced account rep working with you to navigate any challenges makes the whole process go more smoothly.
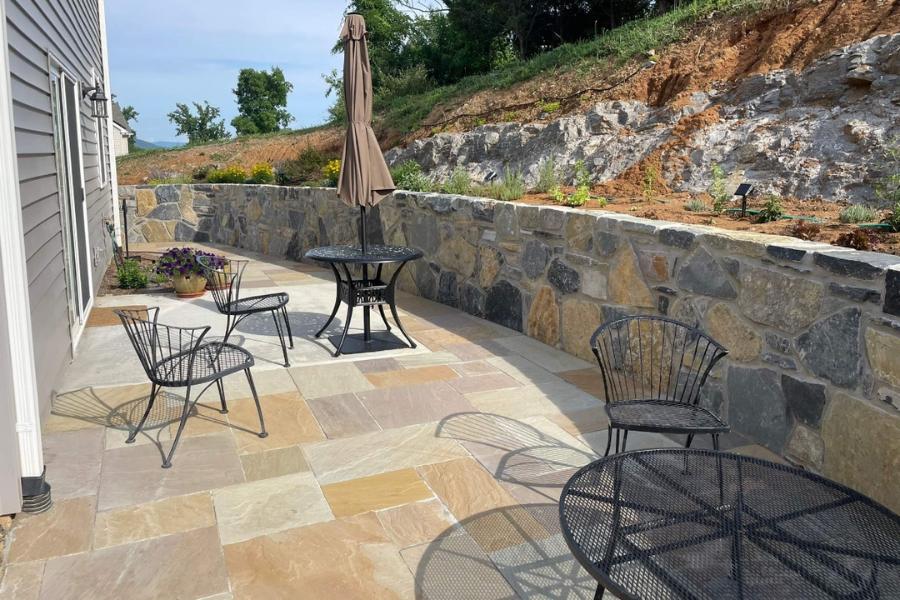
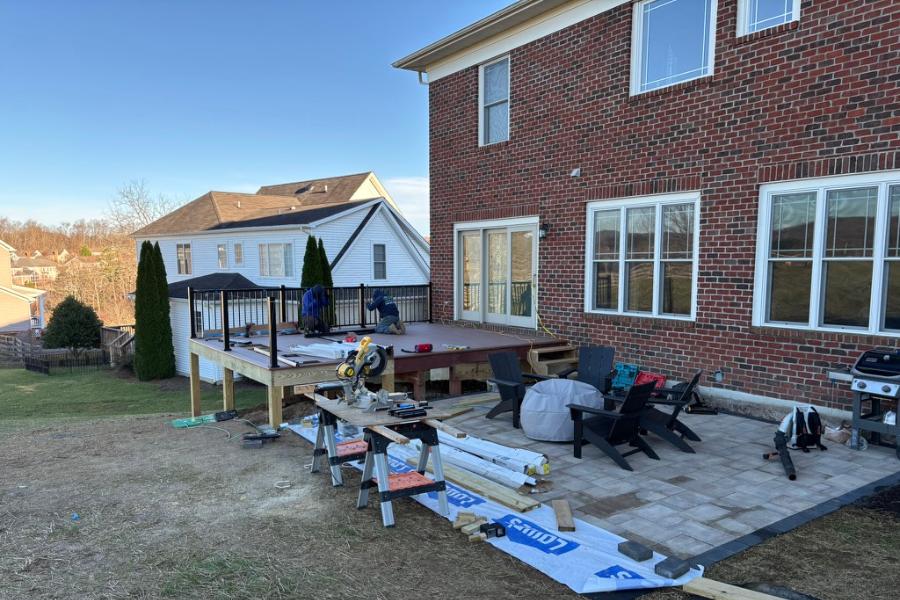
Tips for a Successful Installation
Give yourself plenty of time for the planning process. The easiest time to change your mind is before any digging begins.
Schedule the project for a time when the disruption of construction will be least impactful on you and your family. Projects can experience delays due to weather, machine breakdowns, and product deliveries, so give yourself plenty of extra time for the project to be completed before you have any major events at your home like graduations or weddings.
When construction begins, there’s going to be a lot of exposed dirt which can then turn into mud. Have a boot tray near your door to put dirty shoes so you don’t track that mud through the house.
Refer to your plan, construction contract, and emails with your representative for details on the project so you know what to expect during the project. You will also receive information on how to care for your hardscape and/or plantings after the project is complete. Follow these instructions for the best long-term results.
If you’re having plantings installed, be ready to water. Talk to your representative about what watering products they recommend and have that equipment ready before the crew finishes so you can start watering right away. Timers that fit on your spigot can allow you to set a watering schedule then simply check occasionally to make sure sprinklers are covering the planting area.