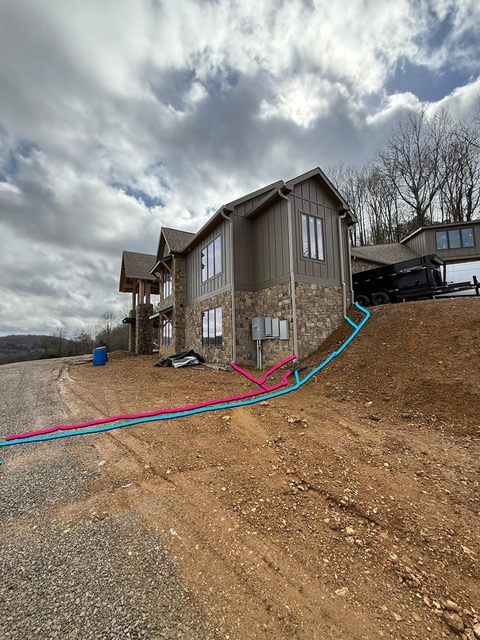
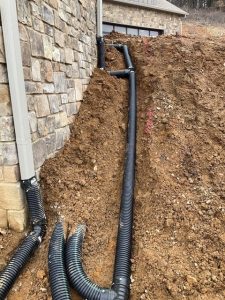
A well-designed downspout drainage plan prevents water damage, soil erosion, and foundation issues.
Here’s how to plan and execute it effectively:
1. Plan the Drainage System
• Assess Water Flow: Identify where water collects and the best exit points.
• Choose a Drainage Path: Direct water away from the foundation, driveway, and walkways.
• Check Local Codes: Some areas have restrictions on where you can discharge runoff.
• Select Drainage Solutions: Options include splash blocks, underground pipes, dry wells, or rain gardens.
2. Choose the Right Materials
• Downspout Extensions: Directs water farther away from the house.
• Corrugated or PVC Pipes: For underground drainage.
• Catch Basins or Dry Wells: To manage excess water.
• Gravel or Perforated Pipes: Helps with slow drainage in certain areas.
3. Install the Drainage System Above-Ground Solution
• Attach a downspout extension (flexible or rigid) to carry water at least 5-10 feet away.
• Use a splash block at the end of the extension to prevent erosion.
Underground Solution
1. Dig a Trench: 6–12 inches deep, sloped 1 inch per 8 feet for proper flow.
2. Install Drain Pipe: Connect the downspout to a PVC or corrugated pipe.
3. Add a Catch Basin (Optional): Helps collect debris before water enters the pipe.
4. End at a Safe Discharge Point: Such as a dry well, drainage ditch, or rain garden.
5. Cover with Gravel & Soil: Ensures proper drainage and prevents pipe clogging.
4. Test the System:
Run water through the system to check for leaks or blockages.
Adjust slopes or connections if needed.
5. Maintain the Drainage System
• Clean gutters and downspouts regularly.
• Check for clogs in underground pipes.
• Ensure discharge points remain clear.
Would you like a custom plan based on your yard’s layout? We can help!
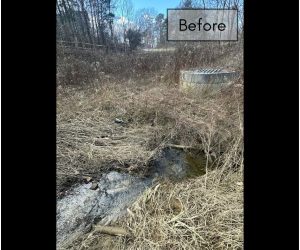
This yard had a low area with no easy outlet for the water. We installed drainage swales to catch runoff and direct it to a dry well to alleviate ponding.
The drywall during installation – this tank is positioned to collect runoff and water from downspouts. The water will seep out into the surrounding soil, while not ponding as long on the surface.
Water is essential for lush landscapes, but in the wrong place, it can kill turf, damage our homes and wash out landscape features. Water should move away from homes and through our landscape in a way that allows it to soak into the soil but not pond in the wrong places.
Grading Around Your Home
In our mountainous area, steep slopes come with the territory. Typically, builders grade the soil around the home to push the water away from the home and it’s foundation. However, sometimes that grading isn’t done property, or it can settle. Regrading to correct this can help protect the foundations of our homes and keep water where it belongs.
Low Spots in the Lawn
Low spots can become swampy, drowning turf. Simple soil fill may resolve minor issues, while dry wells or French drains help in areas with no natural drainage outlet.
Dry wells store water underground, allowing gradual seepage into the soil, while preventing it from ponding on the surface.
Other Ways to Move Water in the Landscape
French drains collect and redirect water using gravel-filled channels with a drain tile at the bottom. Water flows in, enters the tile and is moved to the desired location. These can be left open or covered with soil and turf for a seamless look.
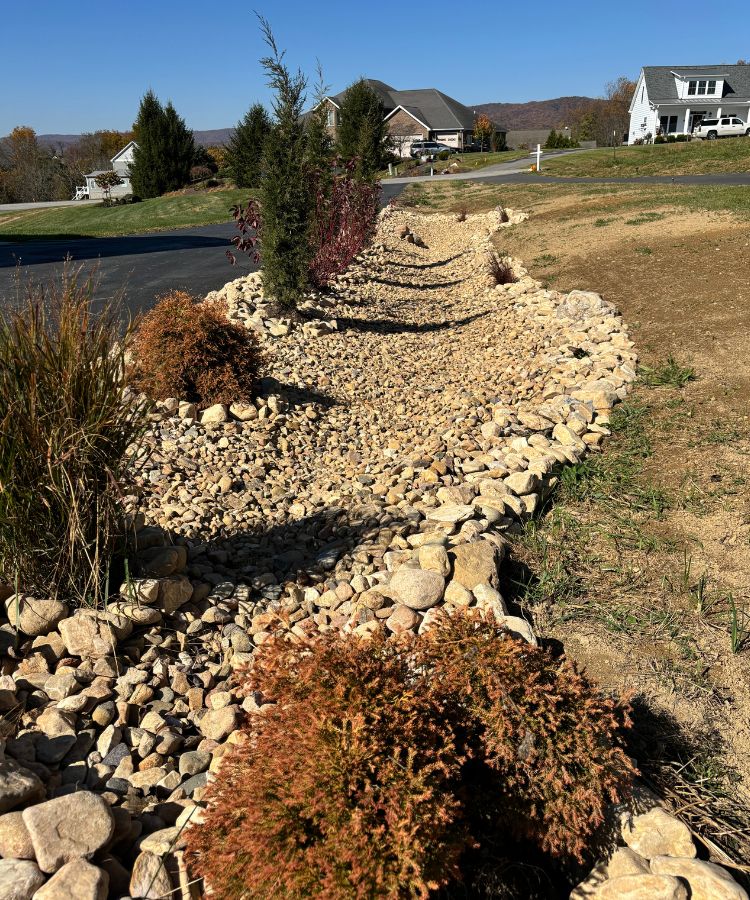
Swales are shallow, graded channels that guide water away from structures. They can be grassy, lined with drainage rock, or designed as decorative dry stream beds.
Managing Stormwater on Your Property
Our turf and plants need water, so we don’t want to push water out of our landscapes as fast as possible. Grading turfed areas to allow rainwater to soak in without ponding supports healthy growth.
The water can be caught by swales and French drains can be moved to areas where it is an asset. For some clients we’ve created planted bogs to receive excess water and support a beautiful planting using plants that are adapted to moist to wet conditions, similar to a rain garden.
Many municipalities encourage homeowners to manage stormwater runoff on their property to prevent more pressure on our stormwater systems. These systems are expensive to upgrade, and that means more taxes. By handling runoff effectively, we protect landscapes, homes, and infrastructure.
This drainage swale with decorate rock and incorporated plantings is an attractive way to move water to an inlet.
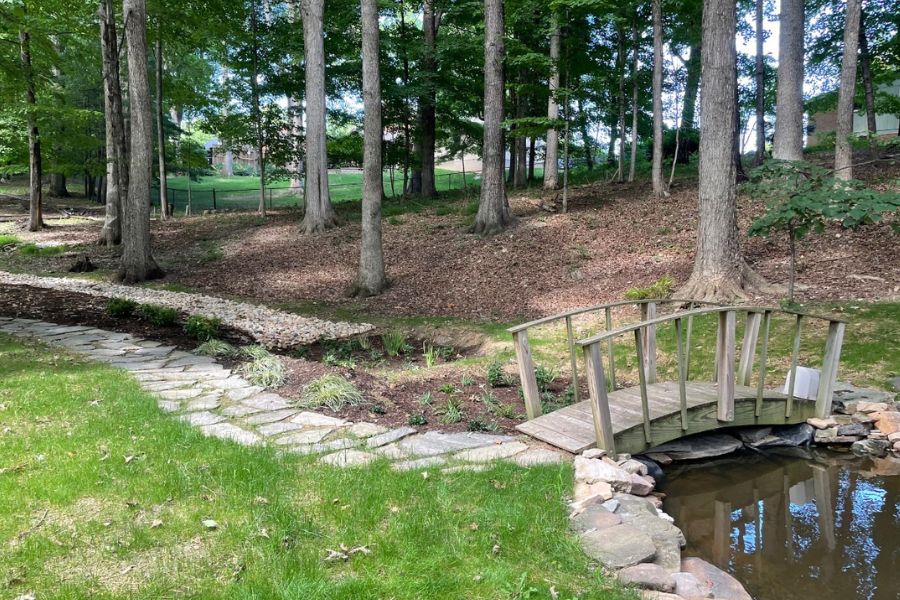
The rock swale on the left directs water to the two planted bogs. If they both fill, water overflows into the pond.
Spring Planting
Birds are singing, bees and butterflies are starting to come out and it’s time to think about sprucing up your landscape. Whether you just want a few new plants or a whole new look, spring is a great time to plant while temperatures are mild and spring rains take some of the work out of watering.
Consider adding some natives to your landscape:
butterfly weed – bright orange flowers in summer attract butterflies
purple coneflower – beautiful flowers frequented by butterflies and seedbeds that draw in goldfinches; ‘Fragrant Angel’ has white, strongly fragrant blooms; ‘Tiki Torch’ lights up your garden large orange blooms
‘Sgt. Pepper’ red twig dogwood – green and cream variegated leaves edged with pink are followed by bright red stems in the fall for multiseason interest
‘Sugar Shack’ buttonbush – cute white puffball blooms in summer are followed by red fruit in the fall. Great for butterflies, pollinators and hummingbirds.
‘Native Flame’ Carolina ironwood – nicely sized tree for most yards with beautiful fall foliage
If deer have put some holes in your landscape, consider adding one or more of these more deer resistant plants:
‘Grey Owl’ juniper – This cultivar of our native juniper has silvery grey foliage, and grows to about 3-4′ tall and 5-6′ wide.
Japanese plum yew – A yew-like evergreen with several good cultivars: ‘Fastigiata’ is a great upright evergreen, 6-8′ tall 2-3′ wide; ‘Golden Dragon’ is low with gold tips, 2-3′ tall 2-3′ wide; and ‘Repandens’ is a low growing evergreen ground cover, 2-3′ tall 4-5′ wide.
boxwood – A classic evergreen, ‘Little Missy’ grows 2-3′ tall and wide, ‘Independence’ 3-4′ tall and wide, and ‘Freedom’ 4-5′ tall and wide. All have good disease and insect resistance but ‘Independence’ and ‘Freedom’ are particularly resistant to boxwood blight.
‘Blue Point’ juniper – Upright blue green foliage makes this evergreen a great accent plant, and a good, if smaller, substitute for Colorado blue spruce, which can develop needle blight.
‘Globosa’ Colorado blue spruce – While the tree forms can succumb to needle blight, this dwarf evergreen tends to be resistant and makes a great accent plant. The deer give it two thumbs down.
We offer clients a full complement of maintenance services to care for their yard year round. We’d like to share some tips and timing with you based on that plan.
Mulching – More than just a pretty finishing touch!
Mulching protects plants roots from freeze, improves moisture retention during periods of drought and reduces pressure from weeds. Back to Nature usually does spring mulching from late February through May. Here’s our process:
Create a bed edge depth approximately 2-3″
Apply pre-emergent herbicide to all mulch beds to help control weed seed germination for 2-3 months.
Apply of double shredded hardwood mulch at a depth of approximately 1.5″ to previously mulched planting beds
Pruning – Shaping the future of your trees and shrubs
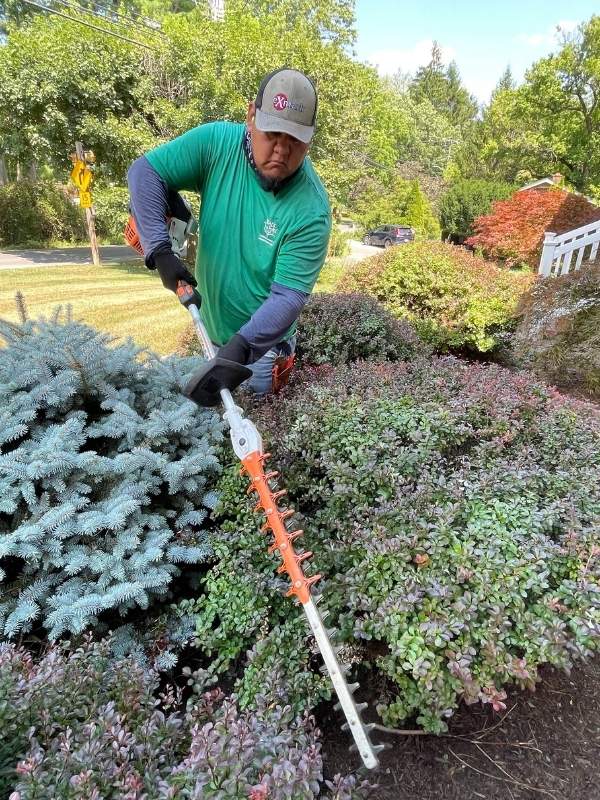
Pruning services will be performed two times a year to allow for pruning of plants during proper pruning periods throughout the year.
Winter Pruning
Winter pruning will be completed from January – March and is based on proper horticultural practices.
This service typically pertains to specific ornamental trees and shrubs that are best to be pruned during winter dormancy.
Great time for thinning and structural pruning. i.e. dogwoods, red buds, Japanese maples
Summer and Fall Pruning
Summer pruning is intended to occur after new spring growth and will typically be completed from May-August. Fall Pruning is intended to occur toward the end of the season as your plants start to go dormant and is typically completed from October-December.
Based on proper horticultural practices
Keeping the plants natural form
Thin cuts, crossing branches, dead or diseased branches, long ends, heading cuts reduction cuts.
Minimal sheering and “meatballs”
Trimming and pruning of ornamental trees and shrubs under 12′ in maintained landscape are included. Any trees and shrubs over 12′ are not included unless specified in specific notes or requests.
Minor pruning of ornamental trees will occur with this service. Certain ornamental trees are best to be more heavily or structured pruned in the late winter.
Before the season make sure your mower blades are sharp for a clean cut.
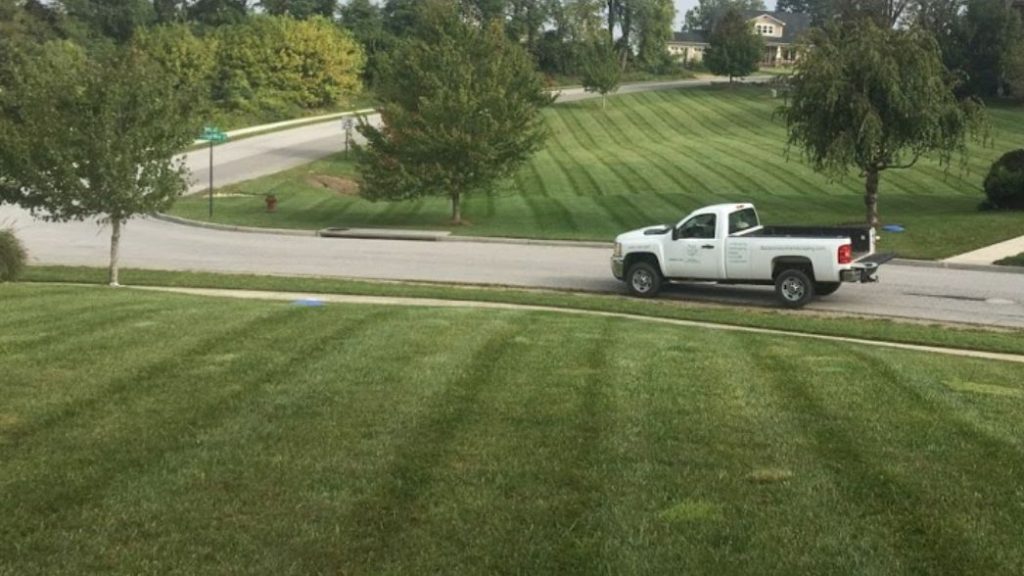
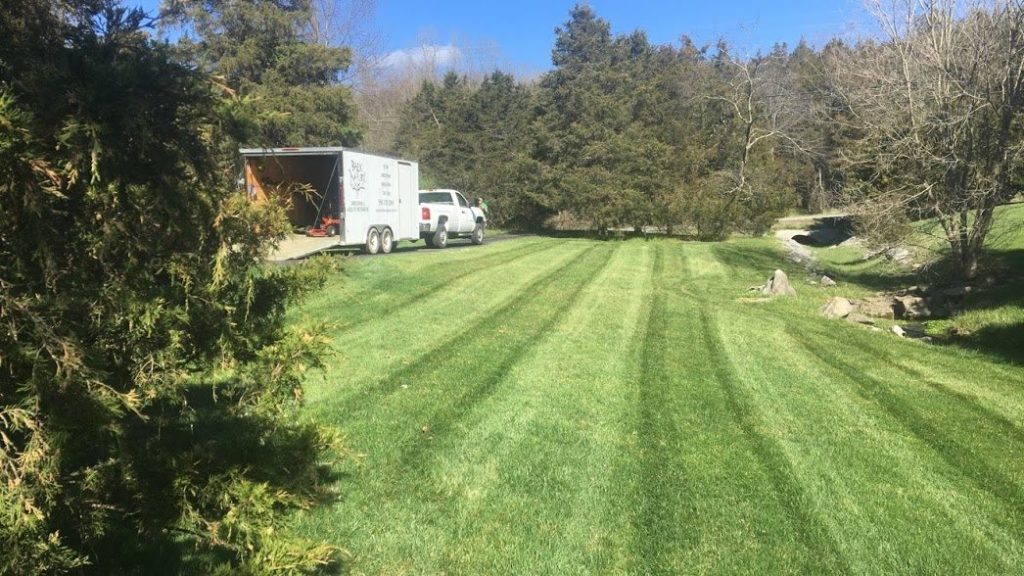
Mowing frequency depends on the weather – make sure to mow often enough that you only take a third of the total blade height at any one mowing.
During hot weather, when grass is under greater stress, we usually recommend raising your mower height to 4-4.5″.
Fall Clean Up and Leaf Removal – Putting everything to bed for the winter
Back to Nature does fall clean up in two rounds, typically completed once in November and once in December
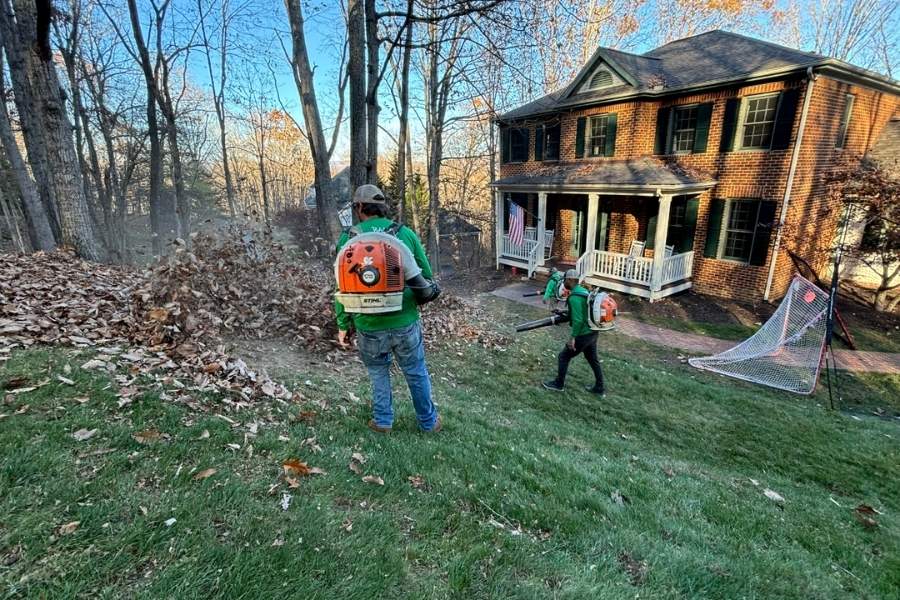
All leaves and debris are removed from turf areas, mulch beds, patio areas, driveways, etc.
We prune shrubs, perennials, and ground cover (like liriope)
All debris is removed from client’s property
You can choose to leave perennials up until spring. Some people (and birds!) enjoy the winter interest of the seedheads, and it can provide good overwintering habitat for pollinators.
Winter pruning – Prune trees and shrubs for good structure and to control and guide future growth.
Deer repellent – Deer browse woody buds and twigs in winter, so continue applying repellents or have us treat your landscape.
Plan for spring – Seed and plant catalogues are arriving in mailboxes everywhere. Winter is a great time to start planning next year’s garden and any landscape improvement projects.
Prepare for snow and ice – If you haven’t already, make sure you have a supply of ice melter and a snow shovel or two ready in case of winter storms. Check to make sure your ice melter is safe for concrete if it will be applied to concrete or concrete pavers.
Prep tools for spring – Get lawnmower blades sharpened before the spring rush. Check over other garden tools to make sure they are clean and ready for service.
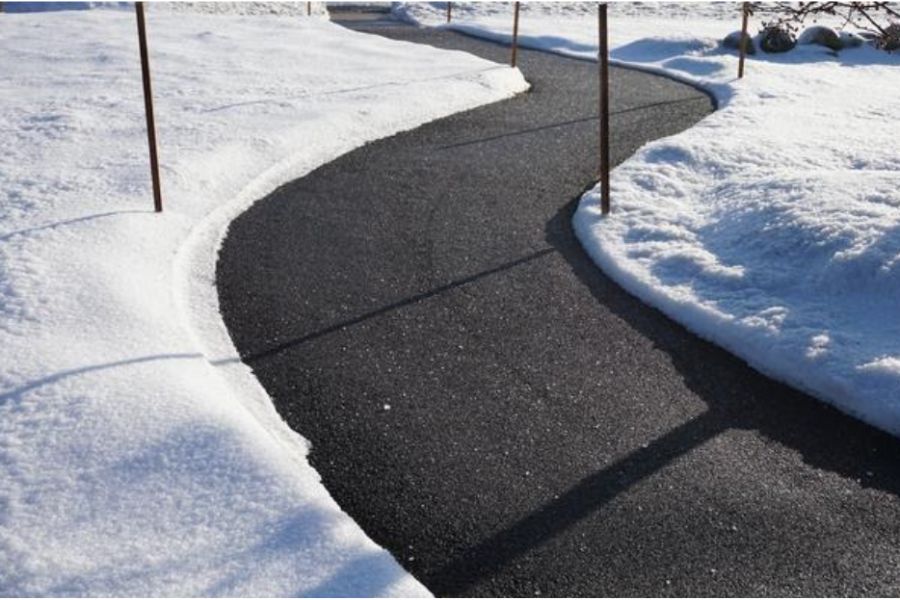
Safely Clearing Snow From Your Landscape
If we could choose where snow fell, we could enjoy all the fun snow has to offer—making snowmen, sledding, and more—without the hassle of clearing paths to get to work or run errands. Unfortunately, after enjoying the snow, we’re still left with the chore of clearing driveways and walkways.
Walkways and Driveways
1. Check Your Health Beforehand
Snow removal is hard work, and if you have heart problems or other health concerns, check with your doctor early in the season. If needed, arrange for someone else to handle snow removal when necessary.
2. Shoveling Techniques
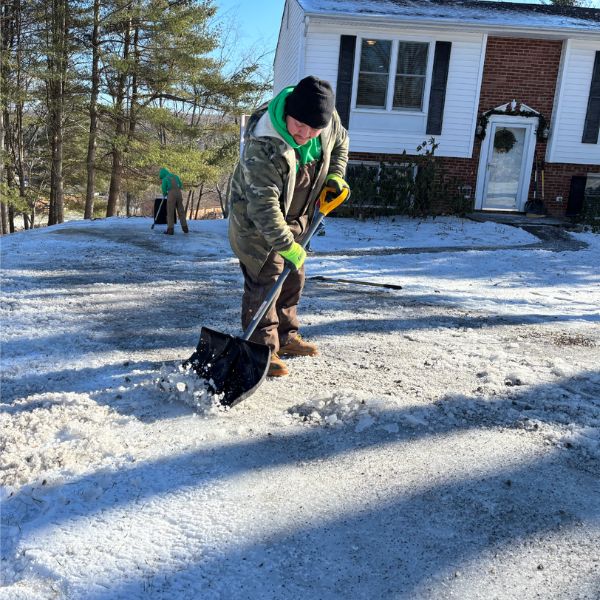
Use proper form: bend at the knees rather than the back, and avoid lifting too much snow at once. Take frequent breaks and pay attention to how your back and body feel. If you experience discomfort, stop and rest.
3. Start Early
Fresh snow is lighter and easier to shovel than snow that has settled or formed a crust of ice. Clear paths promptly after a snowfall.
4. Use De-Icers Wisely
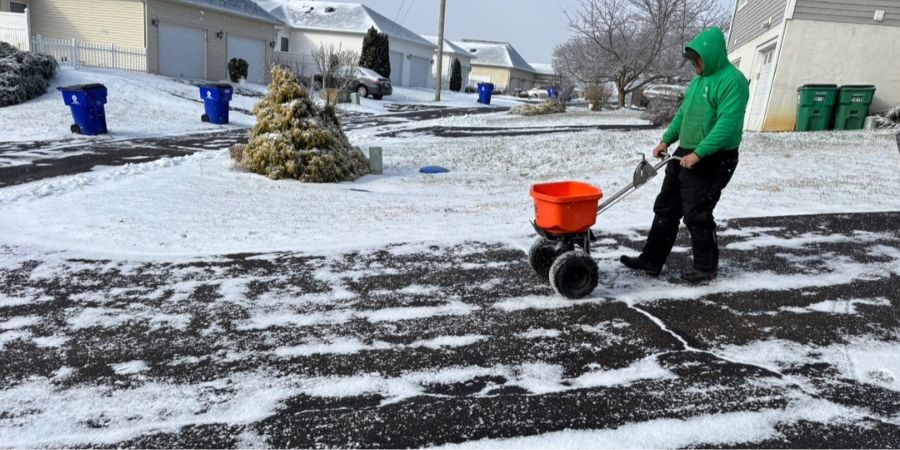
Apply ice melt or sand to reduce slipperiness. Note that overuse can damage nearby plants. Use chemicals that are safe for the surface you are applying them to – some can damage concrete or concrete pavers.
5. Stay Safe
Keep your phone with you in case of injury, and listen to your body. If something feels “off,” it’s safer to stop and finish later.
Evergreens
While most plants are fine in the snow, a heavy layer can damage evergreens. Here’s how to care for these plants after a storm:
1. Gently Remove Snow
Use a broom or your gloved hands to brush snow off branches. Sweep upward rather than downward to avoid adding stress to branches already weighed down.
2. Avoid Shaking Branches
Sudden movements can cause branches to snap under the pressure.
3. Leave Ice Alone
If branches are coated with ice, let it melt naturally. Attempting to remove ice can cause more harm than good.
By addressing snow removal thoughtfully, you can maintain safe paths, preserve the health of your evergreens, and protect your property from winter’s challenges.
Caring for Your Lawn and Landscape: A Year-Round Guide
When should you treat for crabgrass? What about grubs? Is your lawn looking patchy?A thriving lawn requires the right care at the right time. We’ve carefully developed a schedule to improve and maintain our clients’ turf, trees, and shrubs—and now we’re sharing it with you! Whether you choose to follow this guide yourself or let our team handle it for you, this plan will help keep your landscape in top shape all year long.
Turf Care Schedule
Winter/Early SpringStart with a soil test. A healthy lawn begins with understanding its soil. We take a science-backed approach by testing soil to determine nutrient levels, organic matter, and pH balance. If you’d like to test your own soil, your local extension service can help. Montgomery County residents can visit Virginia Tech Extension for more information.
Turf Application 1: Early Spring (February – March)
We apply a selective granular pre-emergent coated fertilizer to encourage early green-up while preventing crabgrass and broadleaf weeds from sprouting. Homeowners can find pre-emergent treatments at garden centers. Timing is key—crabgrass is best controlled before it germinates!
Turf Application 2: Late Spring (April – May)
A second pre-emergent weed control application, along with broadleaf post-emergent weed control and organic fertilizer, helps prepare your lawn for the growing season. If you’re handling fertilization yourself, use your soil test results to determine the correct application rate.
Turf Application 3: Early Summer (June – July)
We apply organic fertilizer to strengthen turf and maintain a rich green color as summer temperatures rise.
Turf Application 4: Mid-Summer (July – August)
By this time, weeds that escaped earlier treatments may need additional broadleaf weed and crabgrass post-emergent control. Fertilization during this period also helps turf withstand summer stress. Raise your mowing height to 4-4.5” during hot, dry months to reduce stress on the grass.
Turf Application 5: Early Fall (September – October)
A high-nitrogen organic fertilizer is applied to promote strong root growth and recovery from summer stress, setting the stage for a lush lawn in spring.
Turf Application 6: Late Fall/Early Winter (November – December)
A final organic fertilizer application helps grass store energy for the winter, keeping it greener longer and ensuring a healthier return in spring.
Additional Turf Care Practices
✔ Grub Control (June): Preventative treatments stop grubs before they damage turf roots, reducing mole and vole activity. If grubs are already present, a post-treatment may be needed.✔ Fungicide Treatments (Spring & Summer): Protect against common lawn diseases like red thread, mildew, and blights, which can weaken turf.
✔ Turf Aeration & Overseeding (Fall): Aeration relieves soil compaction and enhances root growth. We use a premium, coated seed blend for better germination. Watering is recommended to ensure success! If you prefer a DIY approach, aeration machines can often be rented locally.
✔ Slit Seeding (Fall): Ideal for patchy or compacted lawns, slit seeding ensures better seed-to-soil contact for improved germination. This method reduces seed loss and enhances moisture retention.
Tree & Shrub Care Services
🌿 Granular Fertilization (Winter & Spring): We fertilize ornamental trees and shrubs with a high-quality organic formula to enhance root development, nutrient uptake, and stress tolerance. Homeowners can find similar products at garden centers—just follow the label instructions.🌳 Tree & Shrub Pest & Disease Control (Summer): Preventative foliar sprays help protect landscape plants from common pests and fungal diseases.
🦌 Deer Repellent (Every 6 Weeks): Our topical and foliar applications deter deer and other small animals from damaging plants. If applying your own, remember consistency is key for effectiveness.
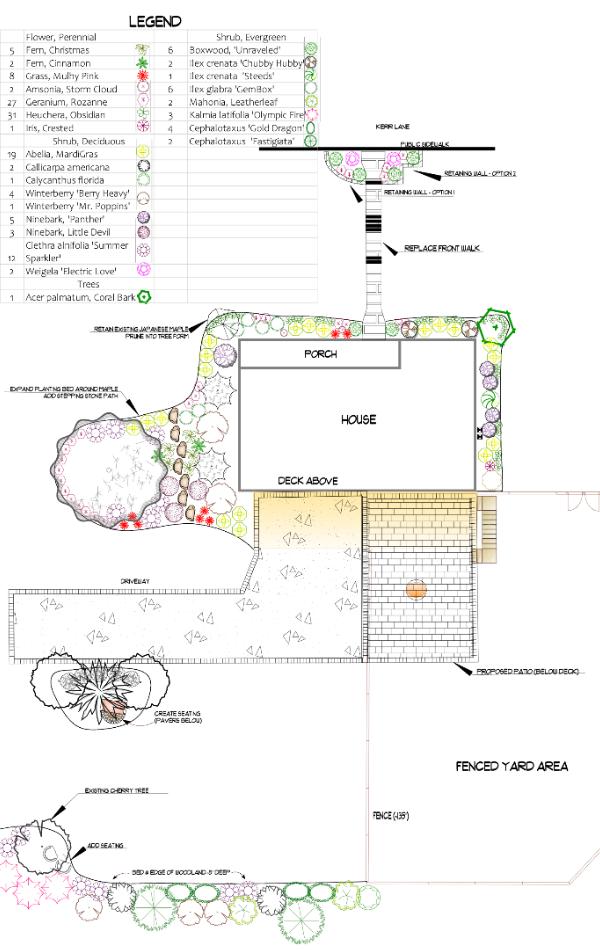
Long winter nights are a perfect time to dream about how you could better use your yard. Spending time now considering how best to use your yard, then talking to a designer can prepare you to be on our schedule early enough to enjoy your newly designed space this summer.
Not only does starting to plan now help you get on the schedule earlier, but it gives you time to consider how you use your whole yard. A plan for your entire property can yield an end product that fits your desired activities into the best locations for each while connecting them into a cohesive plan. You can then implement the whole plan at once, or in phases that suit your budget. Plantings, in particular, can be helpful to install in stages, as it reduces the time and water required for you to care for your new plantings as they get established.
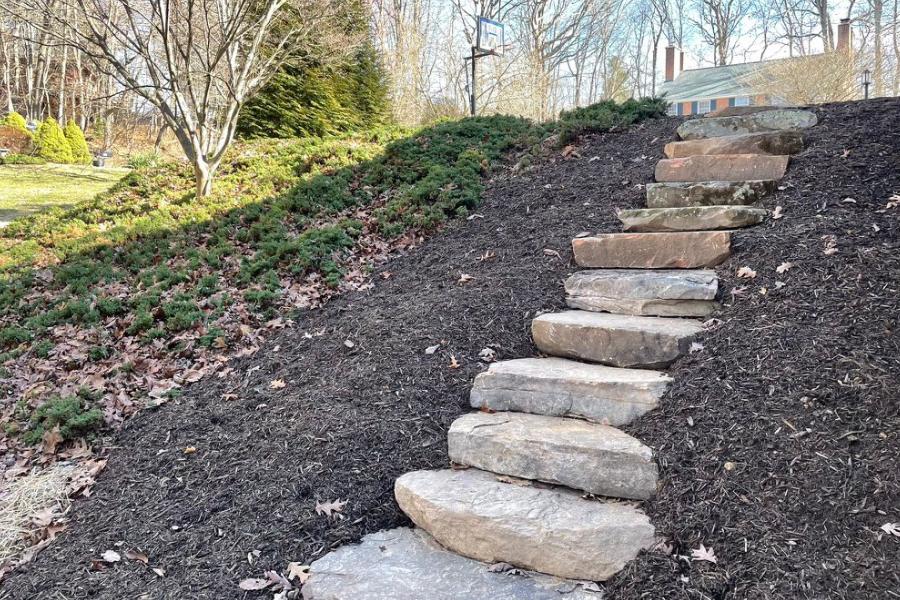
You don’t need to have a big project in mind to benefit from starting the planning process early. Having a designer help you consider different options for a walkway, a set of steps, or a simple planting can ensure you are happy with the final result and less likely to have those “if only I had thought of that …” moments. For planting projects, planning ahead may enable you to schedule your project when the widest selection of plants are available.
Start your planning process by spending time thinking about all the things you and your family enjoyed doing outside last year, as well as the things you would like to be able to do. Add to that list inspirational pictures and ideas, then contact one of our designers to help organize your ideas into a plan that will suit your home and landscape. In addition to your ideas, the designer will have fresh eyes to see your site and suggest new ideas or unique features, like integrated heating for a covered patio, that will improve the ideas you’ve collected.
One of the big questions people tend to have is how much their dream backyard will cost. Our designers can help you understand the costs and come up with strategies to maximize your budget, or plan to implement your design in phases so it is more affordable.
Finally, you have your plan and are ready to implement it. Our designers can help you consider when it’s best to schedule your project, walk you through material selection, and be with you throughout the installation to answer questions and make any adjustments that may be necessary during construction. You may have heard contractors point out that you never know what you’re going to find when you take apart a wall, and the same is true when you dig into the ground. Having an experienced account rep working with you to navigate any challenges makes the whole process go more smoothly.
Tips for a Successful Installation
Give yourself plenty of time for the planning process. The easiest time to change your mind is before any digging begins.
Schedule the project for a time when the disruption of construction will be least impactful on you and your family. Projects can experience delays due to weather, machine breakdowns, and product deliveries, so give yourself plenty of extra time for the project to be completed before you have any major events at your home like graduations or weddings.
When construction begins, there’s going to be a lot of exposed dirt which can then turn into mud. Have a boot tray near your door to put dirty shoes so you don’t track that mud through the house.
Refer to your plan, construction contract, and emails with your representative for details on the project so you know what to expect during the project. You will also receive information on how to care for your hardscape and/or plantings after the project is complete. Follow these instructions for the best long-term results.
If you’re having plantings installed, be ready to water. Talk to your representative about what watering products they recommend and have that equipment ready before the crew finishes so you can start watering right away. Timers that fit on your spigot can allow you to set a watering schedule then simply check occasionally to make sure sprinklers are covering the planting area.
We use cookies to ensure that we give you the best experience on our website. If you continue to use this site we will assume that you are happy with it.